Those who know me inworld will know that my home "Maison Horta" has been around for over 5 years now in some form or other. Over on my flickr account you can find various images from the original construction phase. It was a tough project, I'd never used Photoshop and barely had I joined more than a handful of prims together.
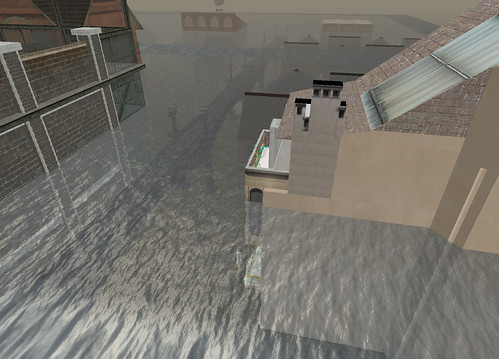
One of the external features that vexed me at the start was the chimney stack. Through limited photographic evidence and drawings I had a good idea what was needed but on a tight prim budget (I had only about 400 prims for the entire build back then) with no sculpties it was going to be ugly. A complex arrangement of varying heights made it costly to reproduce and so I compromised with a two prim construct each textured, and it *was* ugly.
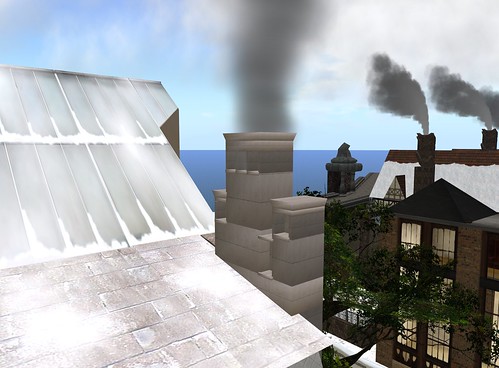
2 years later I gave in to my general concerns about LOD in exteriors. Babbage is often shot as a series of long sweeping rooftop views, I did not wnt to be the one with the large egg on the side of her house but when the use of RenderVolumeLOD debug setting became more common knowledge and practice amongst photographers and visitors this was less of a concern. I built the basic stack from prims using SculptCrafter, the result was a definite improvement but far from ideal, as it always looked a little awkward, catching the light in peculiar ways...
And so it was that the chimney was one of my first ever Mesh projects using the wonderful Mesh Studio. Even before I had a play with the Roycroft lamp featured in earlier blogs I took the SculptCrafter prim buil;t model, ripped the SC scripts out and dropped in the Mesh Studio one. The result was much better, a far neater looking object, with better LOD behaviour and lighting. Being the first project I had undertaken I knew little to nothing about levels of detail, about hidden geometry and about a number of the Mesh specific nuances that I take for granted now. The result was a very acceptable but overly costly (2 LI) and somewhat plain.
Not feeling much like undertaking a large task I decided to re-examine the chimney and see if I could reduce the LI, improve the LOD and add some depth by using fake shadow prims inside the openings.
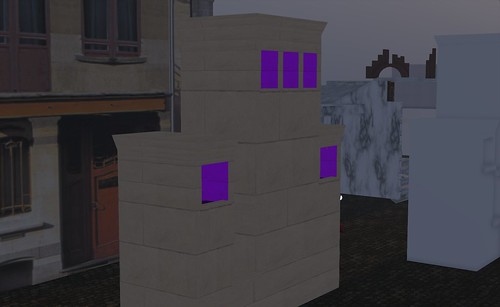
The first task was to dig out the old model and update it. The purple material here will represent the sootier inside faces of the chimneys. You can also see a hint of a black material too. This is a the material that will form the shadow layers.
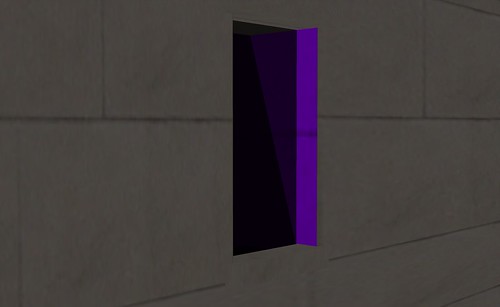
Shadow layering is an effect I sused in the 2011 RFLSL New Babbage winter city build to add the perception of depth and shadows to the viaduct and other tunnels. The effect is simple to achieve and remarkably effective.
The image above shows the effect a little more. I am experimenting a little here with an angled shadow.
The shadow prim is a stack of semi transparent (I typically use a dark smokey texture) texture faces. In the past I used planar sculpts with each set of four vertices forming one layer of shadow, if each layer is 4% opaque then by the time you stack 10 layers you have a fairly dark (~40%) shadow. In a tunnel, having these layers through the entire length allows you to control how far ahead the user can perceive things making the darkness seem all the more real.
In mesh the same can be achieved in much the same manner. For the sake of experimentation I decided to make it possible to cam down the dark chimney, without the shadows, SL would simply display large empty holes.
Back to the chimney...
One of the issues before was that I had left a lot of hidden geometry in the mesh. Hidden geometry is mesh vertices and surfaces that do not really exist but are a by product of using Mesh Studio and building form prims. Mesh Studio will not create Mesh for points that the fully transparent. therefore, it is a good habit to remove all the hidden mesh faces by making them transparent.
By far the easiest way to do this is to highlight the entire object and make it completely invisible.
The image above demonstrates this. If you look closely (or check the full size image on my flickr) you can see that the Mesh Studio script is tracking my progress and tells me that there are 310 prim faces of which 310 are hidden.
Now, using whatever method you prefer, select visible faces and set their opacity back to normal.
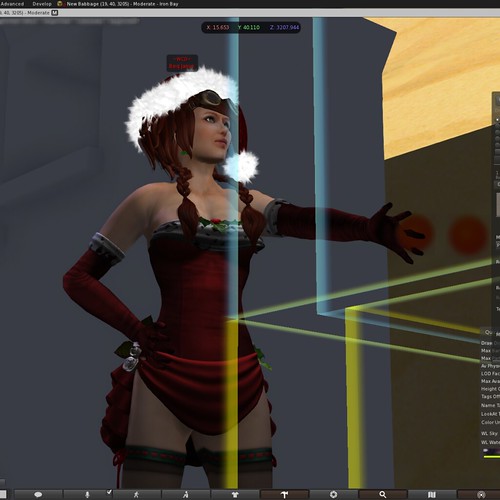
As you can see, just because I am building it does not stop me from dressing festively. I just take extra care not to catch my dress on sharp edges, or spill texture paint on me.
The process can take a while, especially on a complex object. I use ctrl-alt-t to reveal hidden, and then using select face slect a bunch, set them to visible and repeat until I can see no unwanted red.
Here I am part way through the process and the Mesh Studio script is telling us that we still have 248 faces hidden. The more the better, the idea is to only reveal those that absolutely need to be seen.
Once we are finished we can create our mesh and install it.
And here we have the Maison Horta chimney stack 2012. It is now reduced to 1 LI and has the improved texturing to the inner surfaces and proper holes you can cam down. Beware of urchins.
There is a 2013 project evident though. the external texture is rather lacklustre, either some more materials to add some variation to the texturing or a fully baked texture are in order...
Have a good New Year everyone.




No comments:
Post a Comment