There are a couple of features of Mesh physics that come up time and again in group chat. They are the, "oh yeah, *that*, didn't you know about that?" type issue that makes building, or learning to build in SL an "adventure" at times.
The first one goes like this:
Eve: Help, I just returned my housemate's things.
Fred: Did you cut up all his shirts first?
Eve: no no, I was just sprucing up an old build on my platform and lots of things got returned.
Gloria: What do you mean "sprucing up"?
Eve: I have this, old hat I made years ago, I just modernised it by adding some bump and shine.
The second one, starts like this:
Andrew: OK, so I've done all the usual things and I cannot walk through my door.
Brian: Try opening it?
Cathy: set the physics type to prim
Andrew: Yes yes, done all that. It makes no difference. It's a bug in the uploader maybe? I have a wall, The physic shape looks fine in the preview.
This can run on until Andrew loses his cool... For now, though, we'll take a look at Eve's problem.
Physics accounting and the small thin triangles.
In the last blog entry of my Blender Addon Series, we covered the Mesh asset format and looked briefly at the physics section. We learned from that that there are a few possible ways that a Mesh can convey its physical shape.
- A single convex hull. A mandatory shape for any mesh
- An additional decomposition of up to 256 hulls, each consisting of up to 256 vertices.
- A mesh designated for use by the physics engine.
More details of these can be examined on the
Mesh Physics wiki page which has a lot of technical details that we will use in a future blog. For most people, if they specify a mesh model they use a low poly mesh and do not use the analyse button. This typically results in a lower physics cost but herein lies the problem.
Mesh physics shapes
By default when you provide a mesh shape for the physics, the viewer will encode this and upload it. Importantly, however, the physics resource cost is only estimated for the scale that you upload at. If you rescale it in-world it will change the physics cost. This may not surprise you, after all, the streaming cost increases as the size of an object increases, so why would the same not apply to physics? But, in what may seem an odd choice, the physics cost decreases with scale and gets larger as the object shrinks.
So why is this? It ultimately comes down to the cost of tracking objects.it is far more costly to track hundreds or thousands of tiny triangles that really don't add any perceivable value to the accuracy of the shape detection so in order to discourage such behaviour the Mesh accounting algorithm penalises mesh physics for the use of small thin triangles
Eve was only using prims, so why does she care?
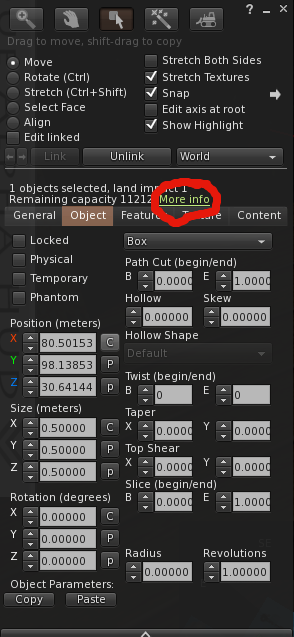
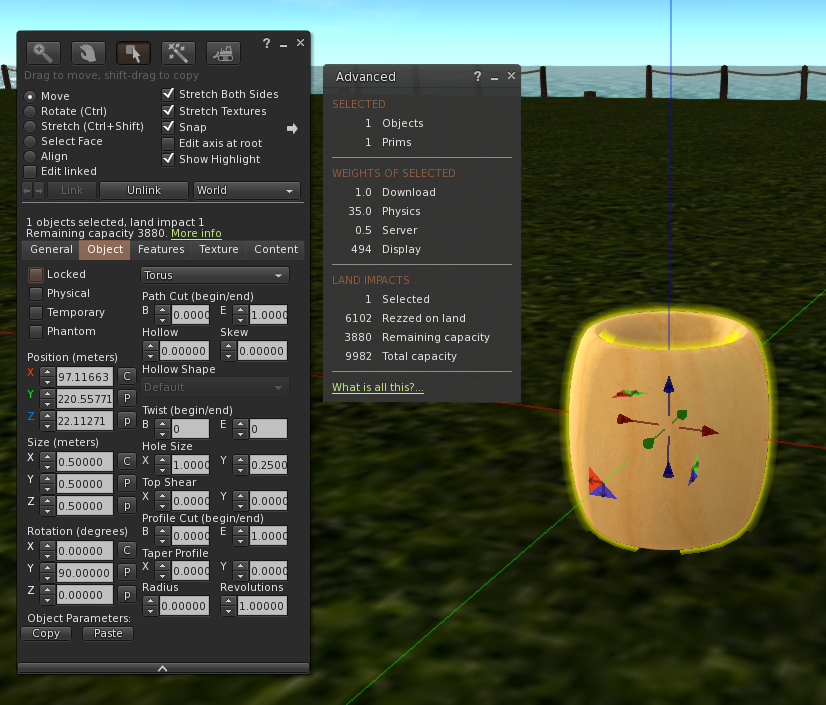
Prims have the dubious quality of being capped at 1LI when subjected to traditional accounting. This grossly under-represents their true cost in terms of rendering and lag but the internal physics cost is still calculated and you can see this using the "more info" button on the build/edit dialogue.
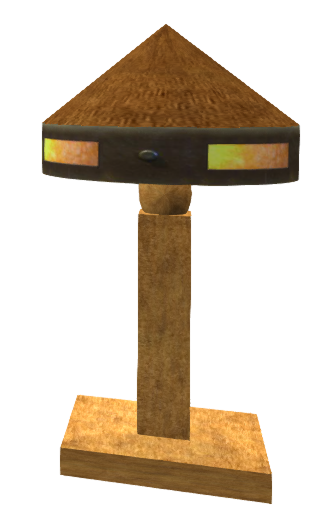
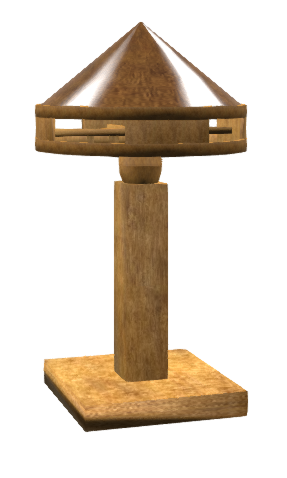
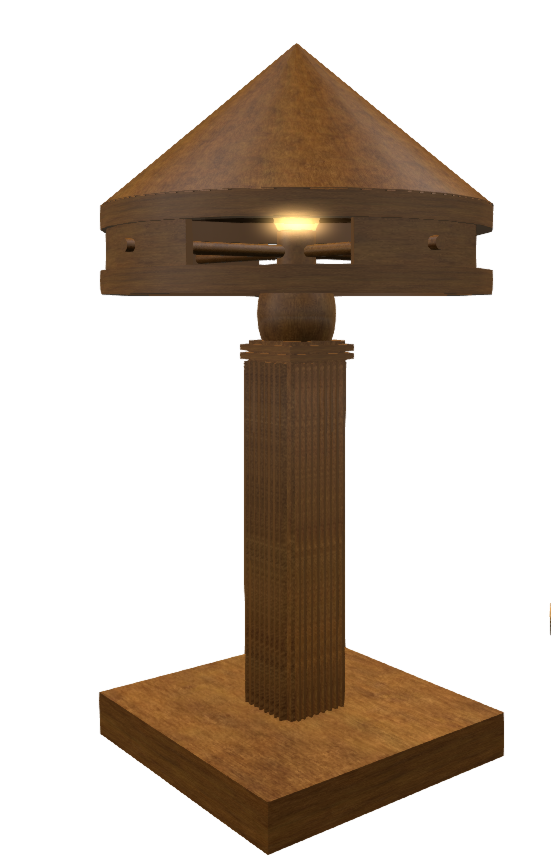
As you can see here the effective physics cost of the humble 0.5 0.5 0.5 torus is 35LI but due to the cap it is only showing as 1LI.
But it is not limited to 35LI. Because the physics cost is driven by scale and the "width of the triangles" compressing a shape massively provoke the physics cost.The next few images demonstrate the results of some minor torturing of a Torus.
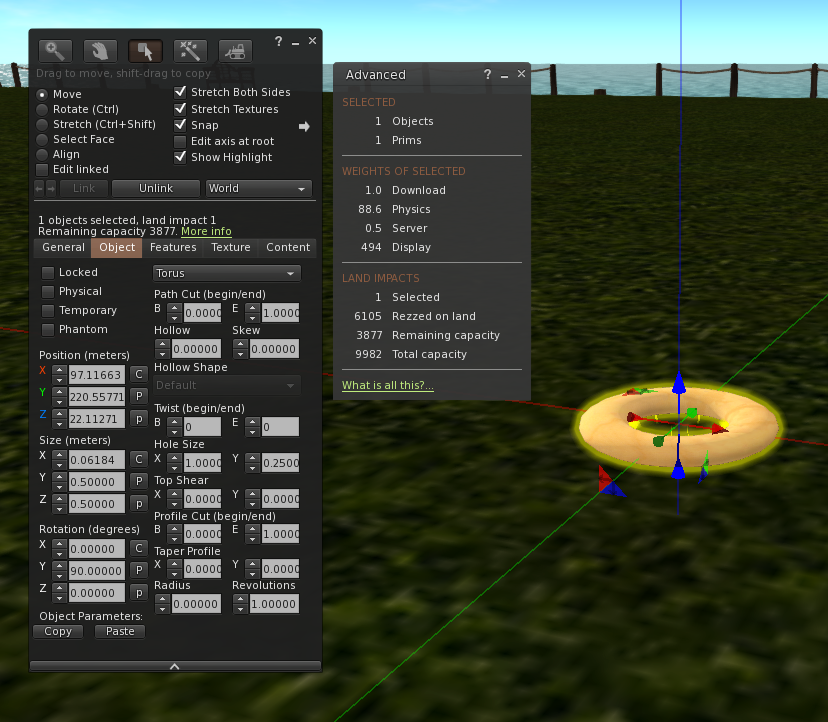 |
| By compressing it vertically we lift the Physics to 88.6 |
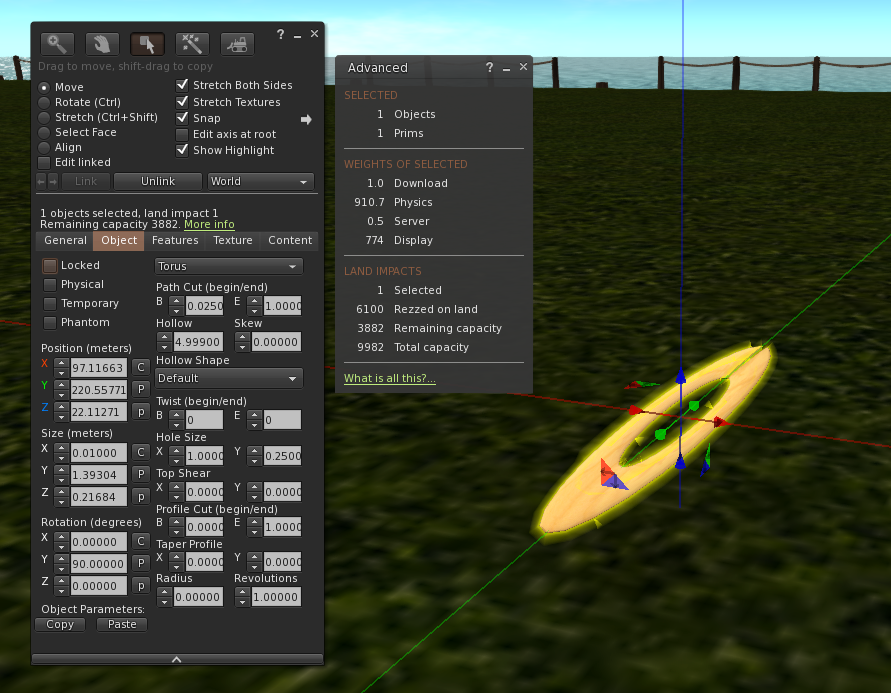 |
| By making it long and thin we drive it up to a scary 910.7, but we aren't done yet |
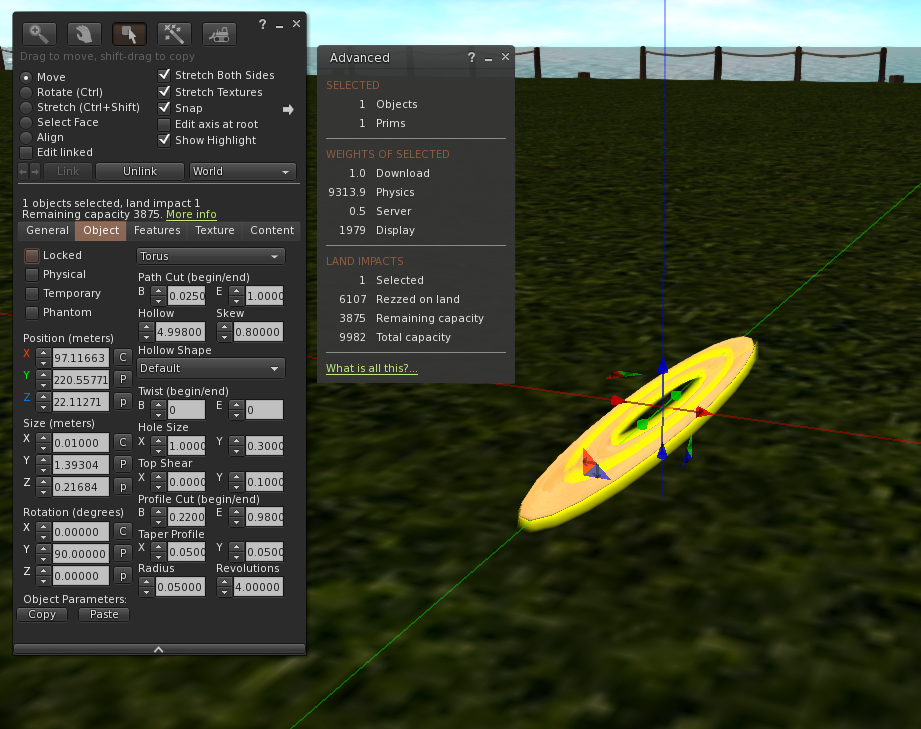 |
| With some carefully applied torture incrementally path cutting, twisting etc. we can achieve a sim filling, sandbox burning, home destroying 9313.8 LI |
Consider the above if you have legacy objects that consist of many tortured prims.
If this were, however, only limited to the "hidden cost" this would hardly be a problem at all but it is not.
Unconstrained prims on the loose
When applying the cap to legacy prims, Linden Lab drew a line under what had gone before and protected it, thus avoiding breaking existing content. However, that rule does not apply to new features being applied to old content deliberately.
There are two ways of breaking the cap. The first, perhaps most obvious way is to switch to modern "Mesh" accounting by changing the physics type to "convex hull". This can be done accidentally by linking a prim against a Mesh item. It can be pretty dramatic on a domed building or something with a lot of curved surfaces.
All that glitters is not gold
The second way is more subtle and for the most part less well known and that is to apply a material to the prim. Materials were added a couple of years ago and provide for user defined bump (normal) and specular (shiny) maps. They are one of the quickest ways to modernise a drab looking older build, but they have a hidden surprise, as the moment that a material is applied to a prim it will switch to mesh accounting and reflect its "true" physics cost.
It is this that Eve stumbled into in the mock scenario above. applying a spec map to an old prim necklace consisting of tortured prims is a great way to very quickly fill your parcel.
So take care when applying materials and linking legacy prims to modern items. You would not be the first person to find that a significant amount of damage has been caused.by an inadvertent ctrl-L
Damage limitation.
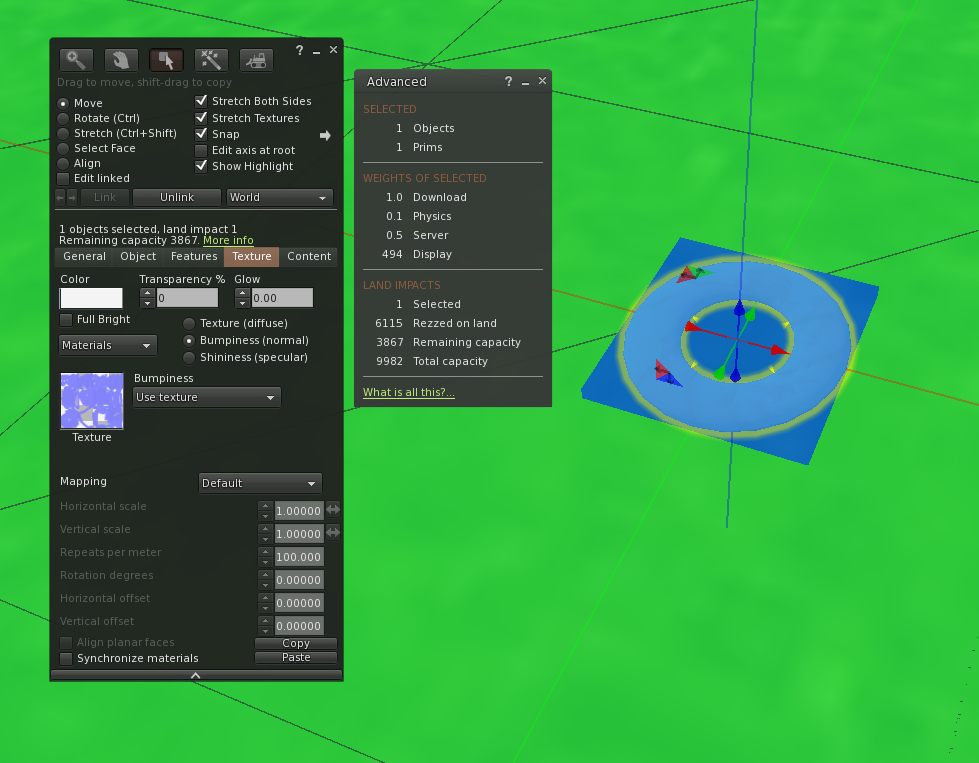
As mentioned above, the equation used to determine the physics cost divides by the width of a triangle. The mathematicians amongst you will already have realised that this means that the cost goes asymptotic as the width approaches 0. The 9000+LI that I managed to generate may not be the highest you can get (though it is the highest I have managed to drive a prim up to) but it is more than enough to do significant accidental harm accidentally. To limit the damage the viewer applies a simple constraint to save us. If the dimensions of the prim's bounding box go below 0.5 then the viewer will ignore the physics mesh provided and instead collapse to a simple solid convex hull. An example of this can be seen in the following image where our, previously 35LI, standard torus has been shrunk beneath the limit and now has a physics cost of just 0.1
.
and this brings as back to the question we started with...
When is a door not a door? When it's a hull.
and back to poor Andrew and his wall without a doorway.
Emily: Have you double checked the physics type?
Andrew: yes it's prim. I've done all the usual things, I've run out of options.
and so it goes on
Many times the cause of the issue will be resolved by asking one question.
Me: Andrew, What are the dimensions of the object?
Invariably, the response will be
Andrew: 20x4.5x0.1, I hate thick walls.
Inadvertently, by minimising the wall thickness Andrew has triggered the hull physics, blocking his door and ensuring it will never open. At this point ,Andrew has two options. He can either scale the x or y dimension to make the wall thicker (this is always the best test that this is the correct issue) or he can use the analyse function to produce a multiple hull based physics model that is not affected by scale and does not have the limiter applied. In general, the analysed physics costs more.
Summary
When you specify a mesh physics and don;'t analyse it, or when applying modern features to legacy builds, you open yourself up to physics issues. That can be summarised in a couple of rules
- Don't shrink any object with a physics shape without paying careful attention
- Don't apply a bump or spec map to a prim build without checking for side effects.
It has a safety valve that can itself cause issues. Which can be summarised as:-
If your physics shape is set to prim, you are sure it looked right in preview (or metadata - see below). Check that no dimension <0.5.
Both sets of issues are resolved by using "analyse" but be aware that this frequently comes at a higher (fixed) physics cost.
A post script - One last tool in the physics armoury
If the scaling does not fix it then you'll need to prove whether the physics exists where it should.
One mistake that can be common with custom physics shapes is not ensuring that the BB matches that of the object.
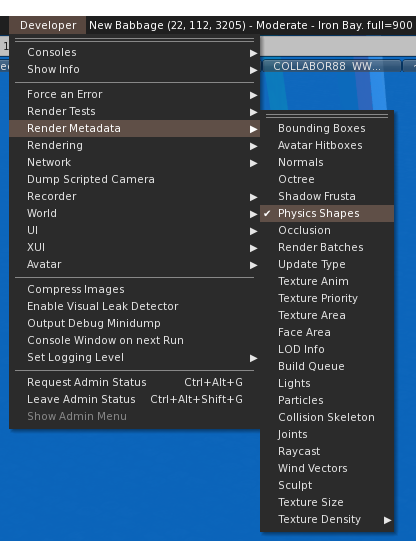
A tool that is specifically designed for tracking down physics issues can be found in the developer menu. (Note: the developer menu can be enabled from the viewer preferences.)
Go to the Developer->Render Metadata-> Physics shapes and tick it. The world will turn mostly blue.
The blue parts are physical surfaces, and, in fact, they are "heat mapped", an object with a very high physics cost will appear progressively orange and then red. More importantly, if you line the object you are inspecting, up against the skyline, you can see the areas that are not blue and which ought to correspond to holes/doors/windows. If the bounding box of the physics model does not match that of the LOD models then it will have been stretched/compressed to fit and any non-alignment will now be clear.
One word of caution when using this, however. There is a metadata display bug (at least that is what I consider it) that means that for Mesh objects, the mesh physics shape will be displayed even when the size restriction means that the default hull physics is being used. The convex hull shape can be seen when "convex hull" is explicitly selected, but will not show when it is being used because of the size limit. Interestingly this is the exact opposite of the behaviour I reported two years ago, so perhaps the change that addressed that problem fixed that and broke this?